
Let’s make a simple contact form, put it on a WordPress page and check that the answers arrive. You can follow this guide with the free Logical Forms plugin.
1. Choose a starting point
- Open Logical Forms → Forms and select + Add form. The New form submenu opens the same screen.
- Choose the Contact starter. It includes required Name, Email and Message fields. For a completely empty canvas, choose Blank form instead.
- Give your form a recognizable name, such as Website contact, then select Create form.
The starter is a starting point. Its fields, wording and settings are yours to change.
2. Make the form your own
The Build tab shows your form on the canvas. Use Add fields in the sidebar to find more field types. Select a field on the canvas to open its Field options, where you can edit its label and available settings.
For this first form, keep Name, Email and Message. Change the Message label if a more specific question would help your visitors. If you add a Phone field, leave it optional unless you really need a phone number to reply.
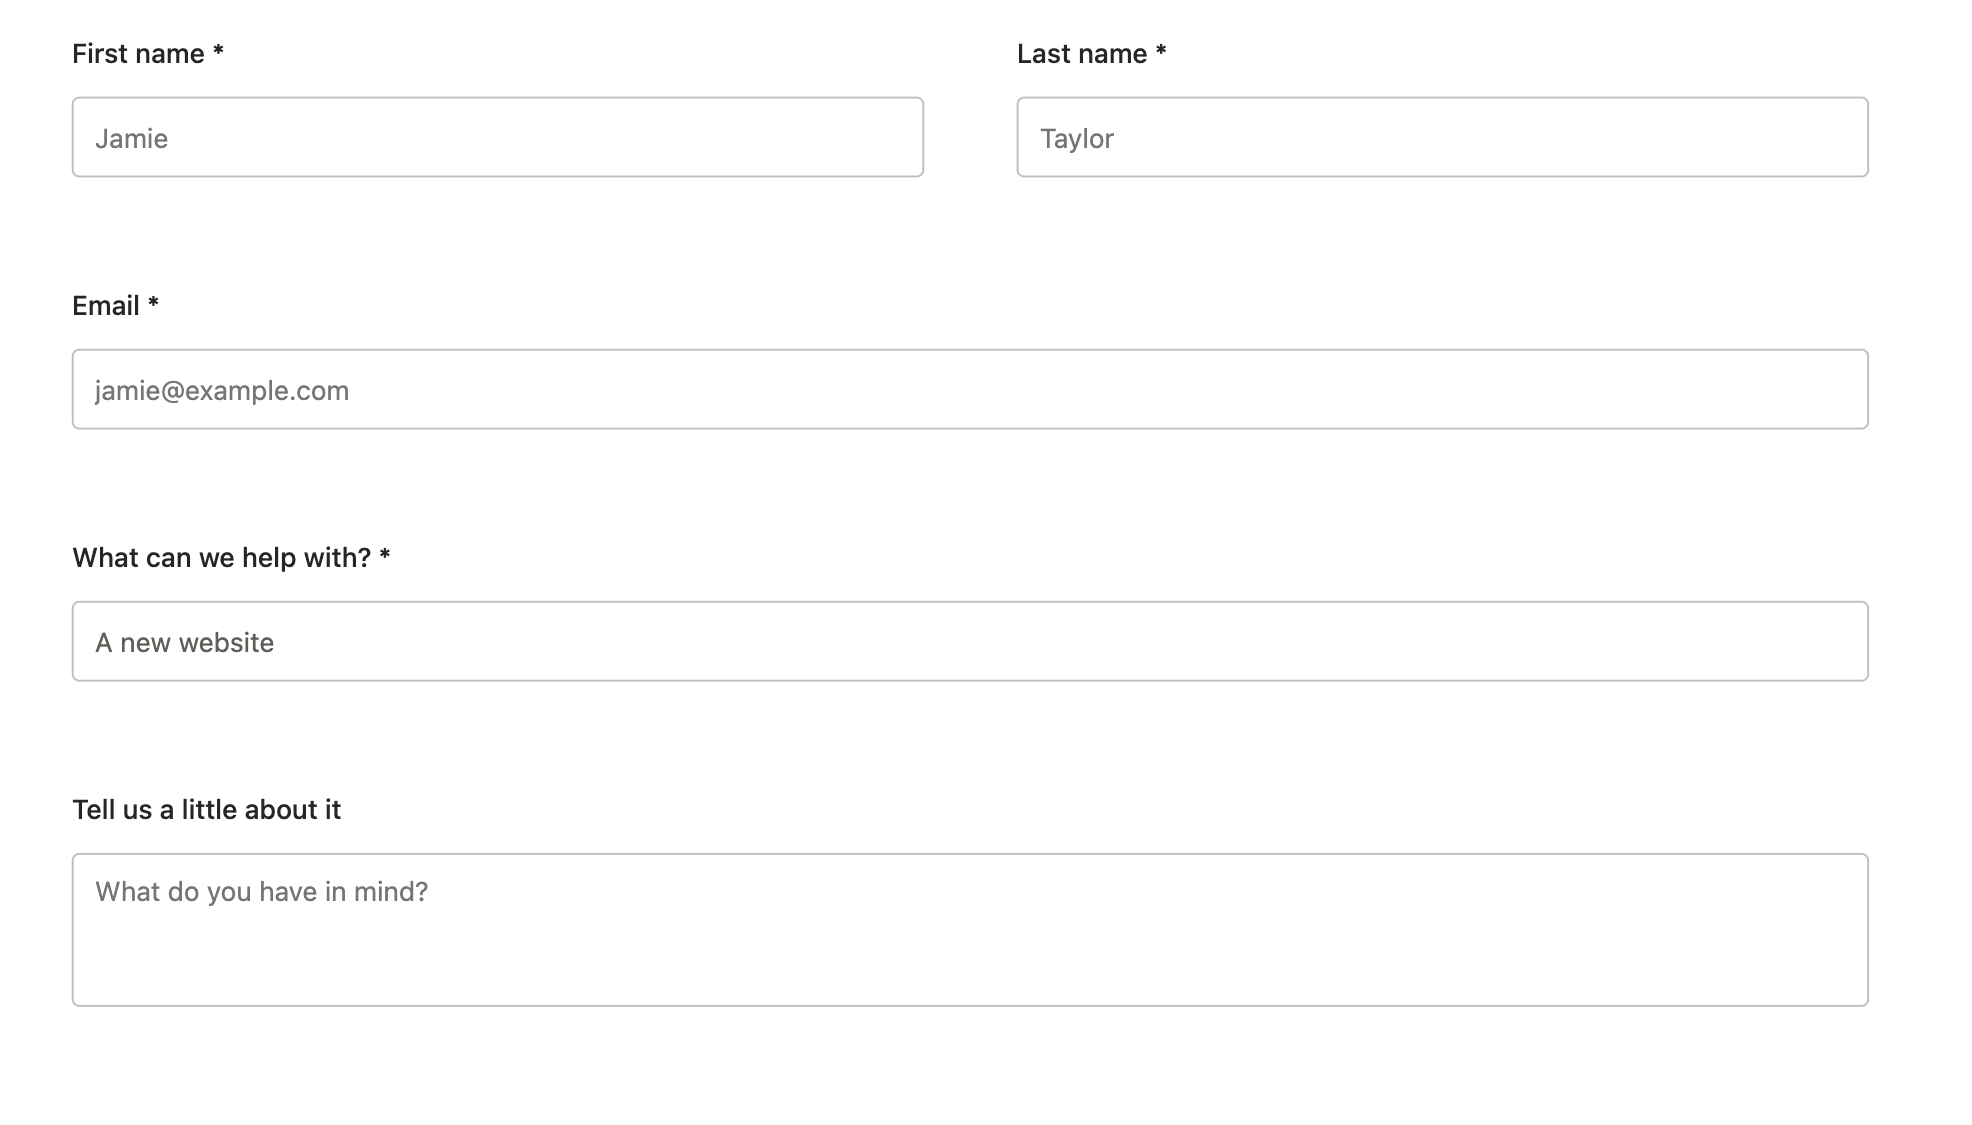
Arrange the questions in the order you want people to answer them. The builder lets you move fields and place related questions in rows and columns. Keep this contact form simple, then select Save form.
3. Check the confirmation and notification
Open the form’s Settings tab. Two settings are worth checking before anyone submits the form:
- Confirmations controls what the visitor sees after a successful submission. For a contact form, a clear thank-you message is enough. Check the default confirmation and adjust its message.
- Notifications controls the emails sent after submission. New forms include an enabled Admin notification with Send to set to
{admin_email}, your WordPress administration email. Confirm the recipient and subject before testing.
Testing without email? Disable the Admin notification while you experiment, then save the change. A confirmation message is shown on the page; it is separate from an email notification.
Save changes in each settings screen. Then return to Build and use the eye-shaped Preview button to inspect the saved form. The final check will be on the published page.
4. Add the form to a page
Save your form, then select Embed in its header. Choose the route that fits your page:
- Create a new page: enter a title to create an unpublished draft with the form already included. Review the page in WordPress, add any introduction you need, then publish it.
- Select an existing page: find the page and select Insert form. WordPress opens its editor with the form at the end of the content. Move it into place, then update the page.
- Copy shortcode: copy the shortcode shown for your form and paste it into a WordPress Shortcode block, or a shortcode element in your page builder.
A shortcode looks like [logical_forms id="42"]. The number identifies a saved form; use the exact shortcode from your own Embed dialog. Embed does not publish a WordPress page for you.
5. Send a test and find the entry
- Visit the published page as a visitor, ideally in a private browser window. Check it on a phone too.
- Submit a recognizable test message using details you control. Confirm that the thank-you message or other response appears.
- Return to the form in WordPress and open Entries. Open the test entry and check that its answers are complete.
- If you enabled a notification, check the recipient’s inbox and spam folder. The saved entry and email delivery are separate checks.
If an entry exists but no email arrives, check the notification is enabled, its Send to value is correct, and WordPress can send mail through your host or mail service. If the page shows a shortcode as text, make sure it is in a Shortcode block or a shortcode-capable element.
Keep building
You now have a form, a place for people to fill it in and a saved entry to review. Explore the live examples for ideas, or explore all fields to see more ways to collect information. You can return to the builder and refine the same form as your needs change.